When it's time to take out your contact lenses, the process should be as routine as putting them in. Preparation is not just about having the right tools at your disposal, but also about ensuring a safe and hygienic environment for your eyes. The goal is to avoid any unnecessary contact with bacteria or debris that could lead to infections or irritation.
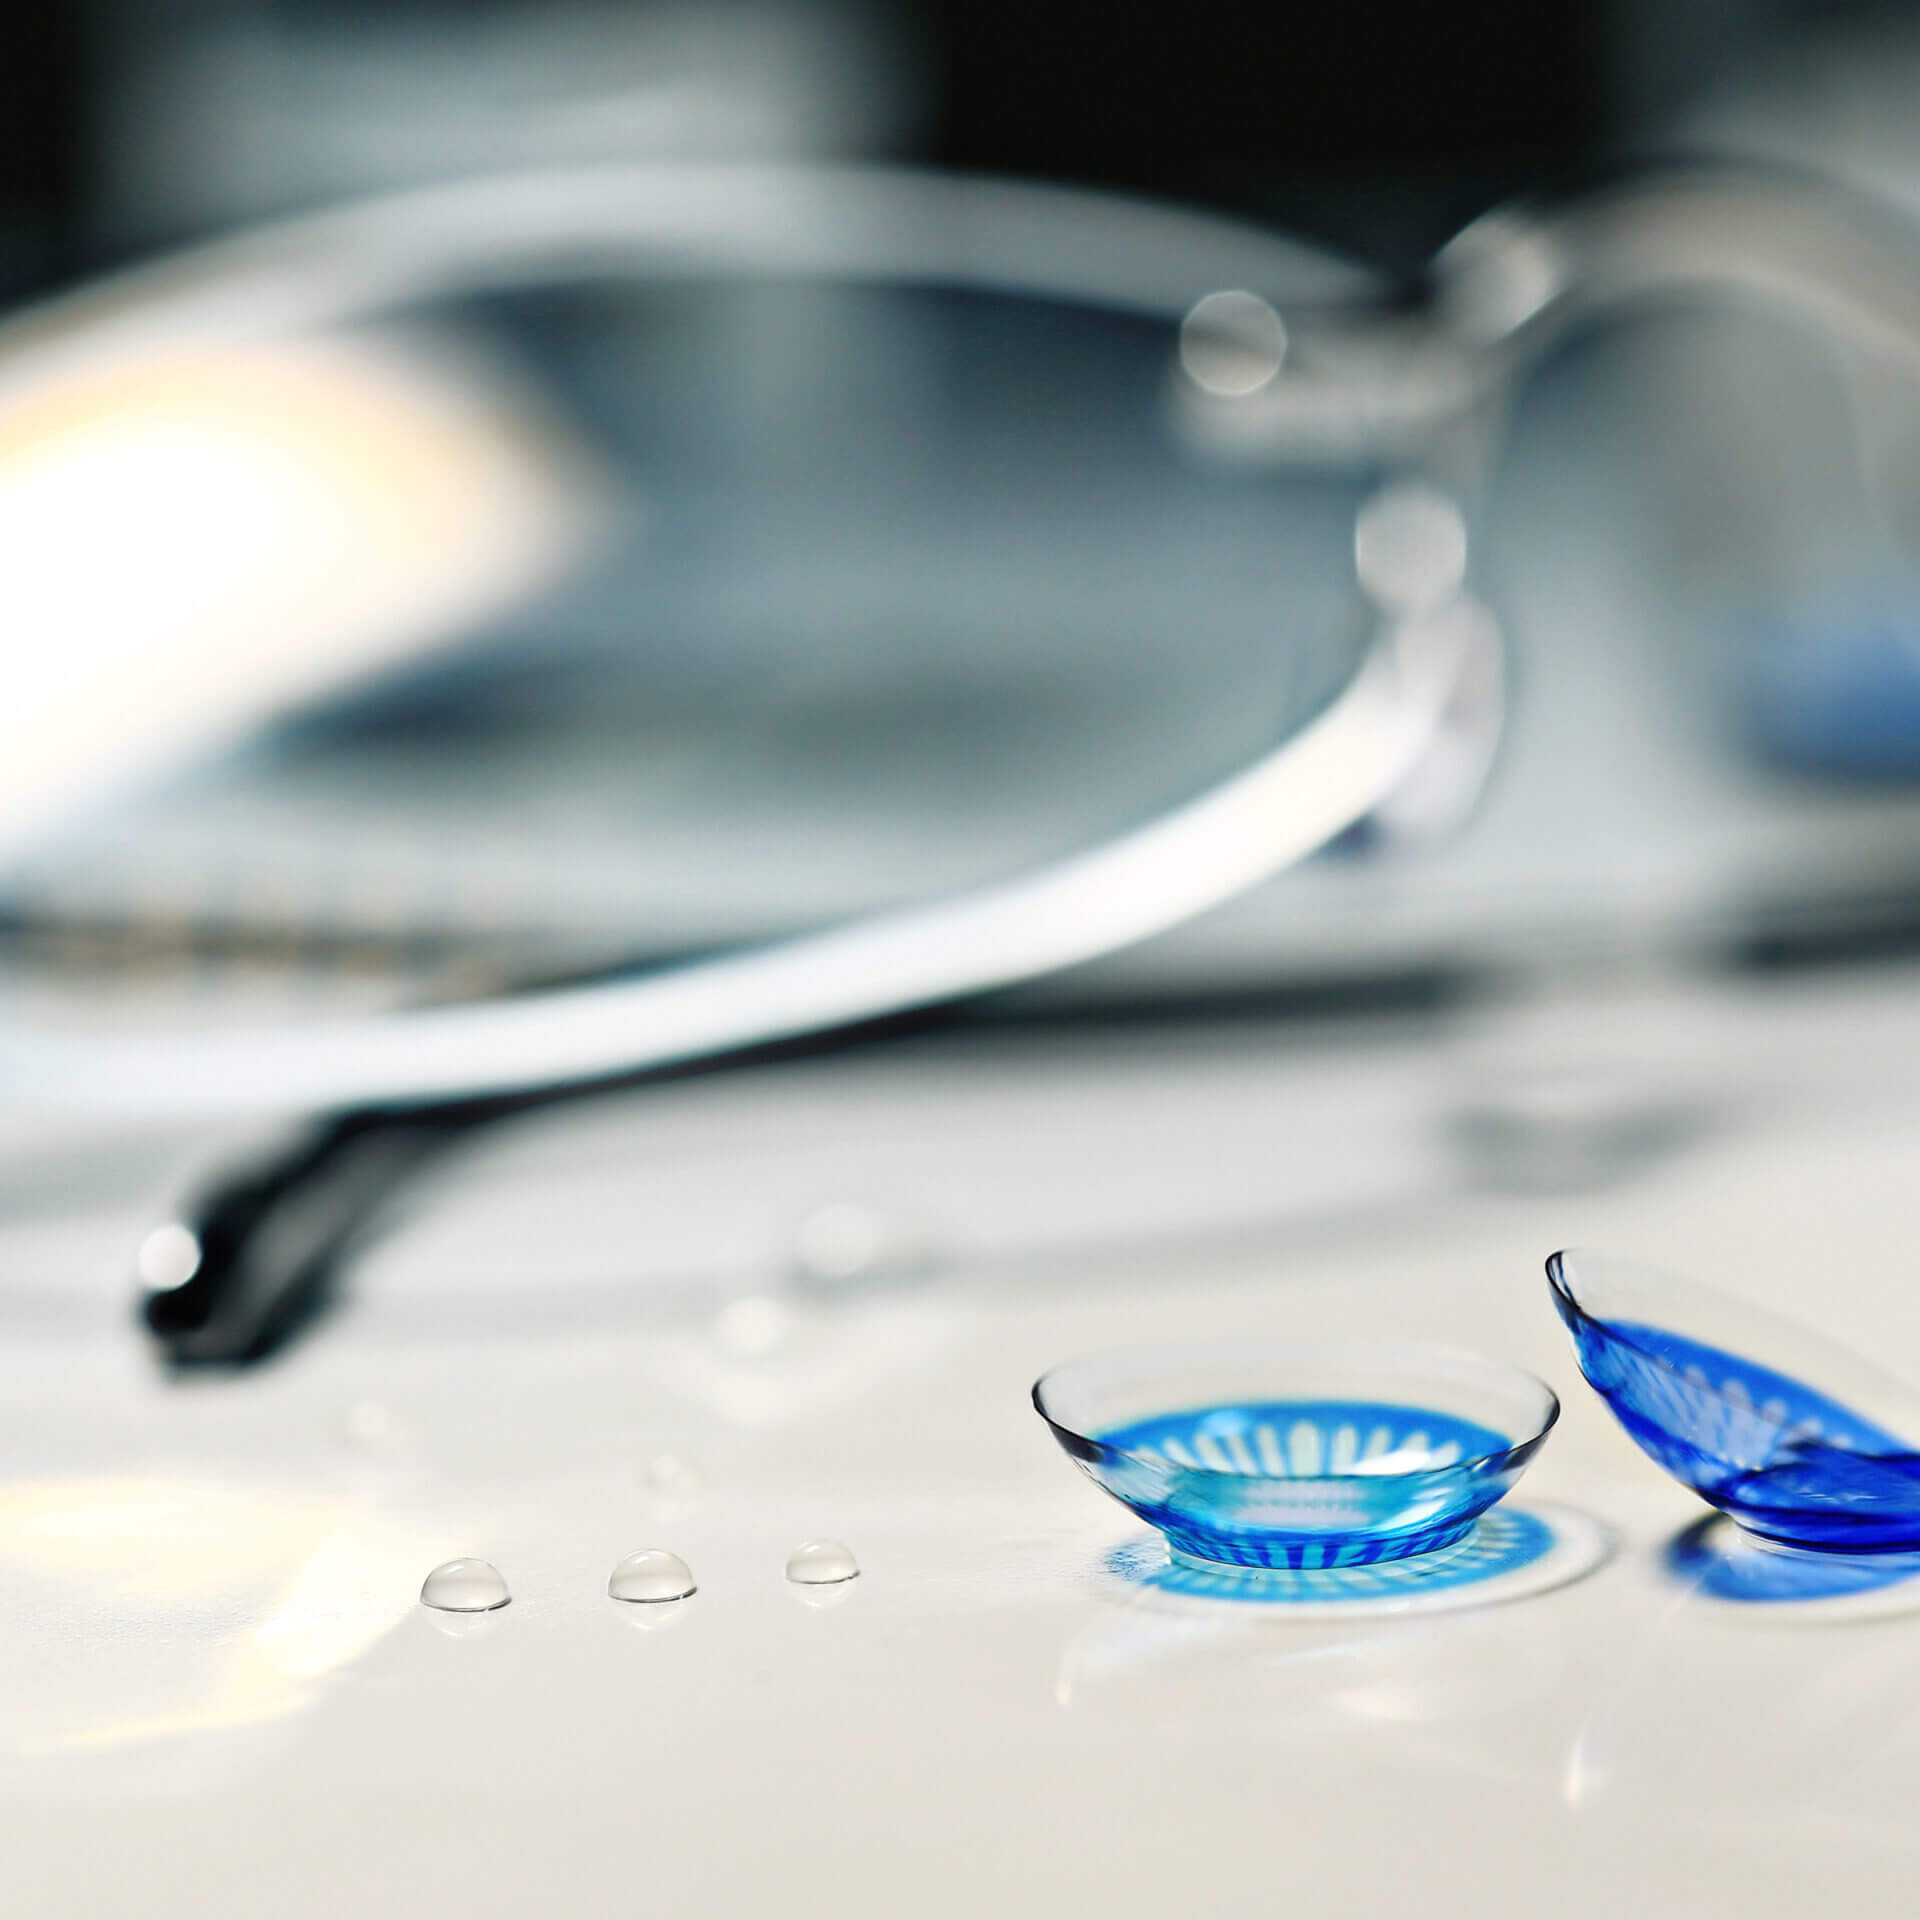
Now, prepare your contact lens case. Rinse it with contact lens solution—not water—and fill it with fresh solution. This is essential because even a clean-looking case can harbor microorganisms that could transfer to your lenses and then to your eyes. Using fresh contacts solution each time minimizes this risk.
This preparation not only sets the stage for a successful lens removal but also reinforces good hygiene habits that are vital for every contact lens wearer.
Step 1: Hand Washing
The initial and most crucial step in the contact lens removal process is thorough hand washing. Your hands are exposed to numerous surfaces throughout the day, collecting bacteria, viruses, and other contaminants that could easily be transferred to your eyes, potentially causing infections like conjunctivitis or keratitis. To prevent this, follow these steps:
Use a generous amount of soap and warm water.
Rub your hands palm to palm in a circular motion, interlace your fingers to clean between them, and don't forget the backs of your hands.
Scrub your hands diligently for at least 20 seconds, which is the recommended duration to ensure proper cleanliness.
Rinse thoroughly, ensuring all soap residue is washed away, as it can irritate your eyes.
Dry your hands with a clean, lint-free towel.
Step 2: Mirror Setup
Have a mirror handy; a magnifying mirror can be especially helpful if you're a beginner. Ensure that the area around the mirror is stable and free of obstructions. Some people prefer standing over a sink with a stopper in place to prevent a lens from going down the drain, while others might choose to sit down with a clean towel spread out in front of them, just in case the lens falls.
Step 3: Soft Lens Removal
Removing soft contact lenses is generally straightforward:
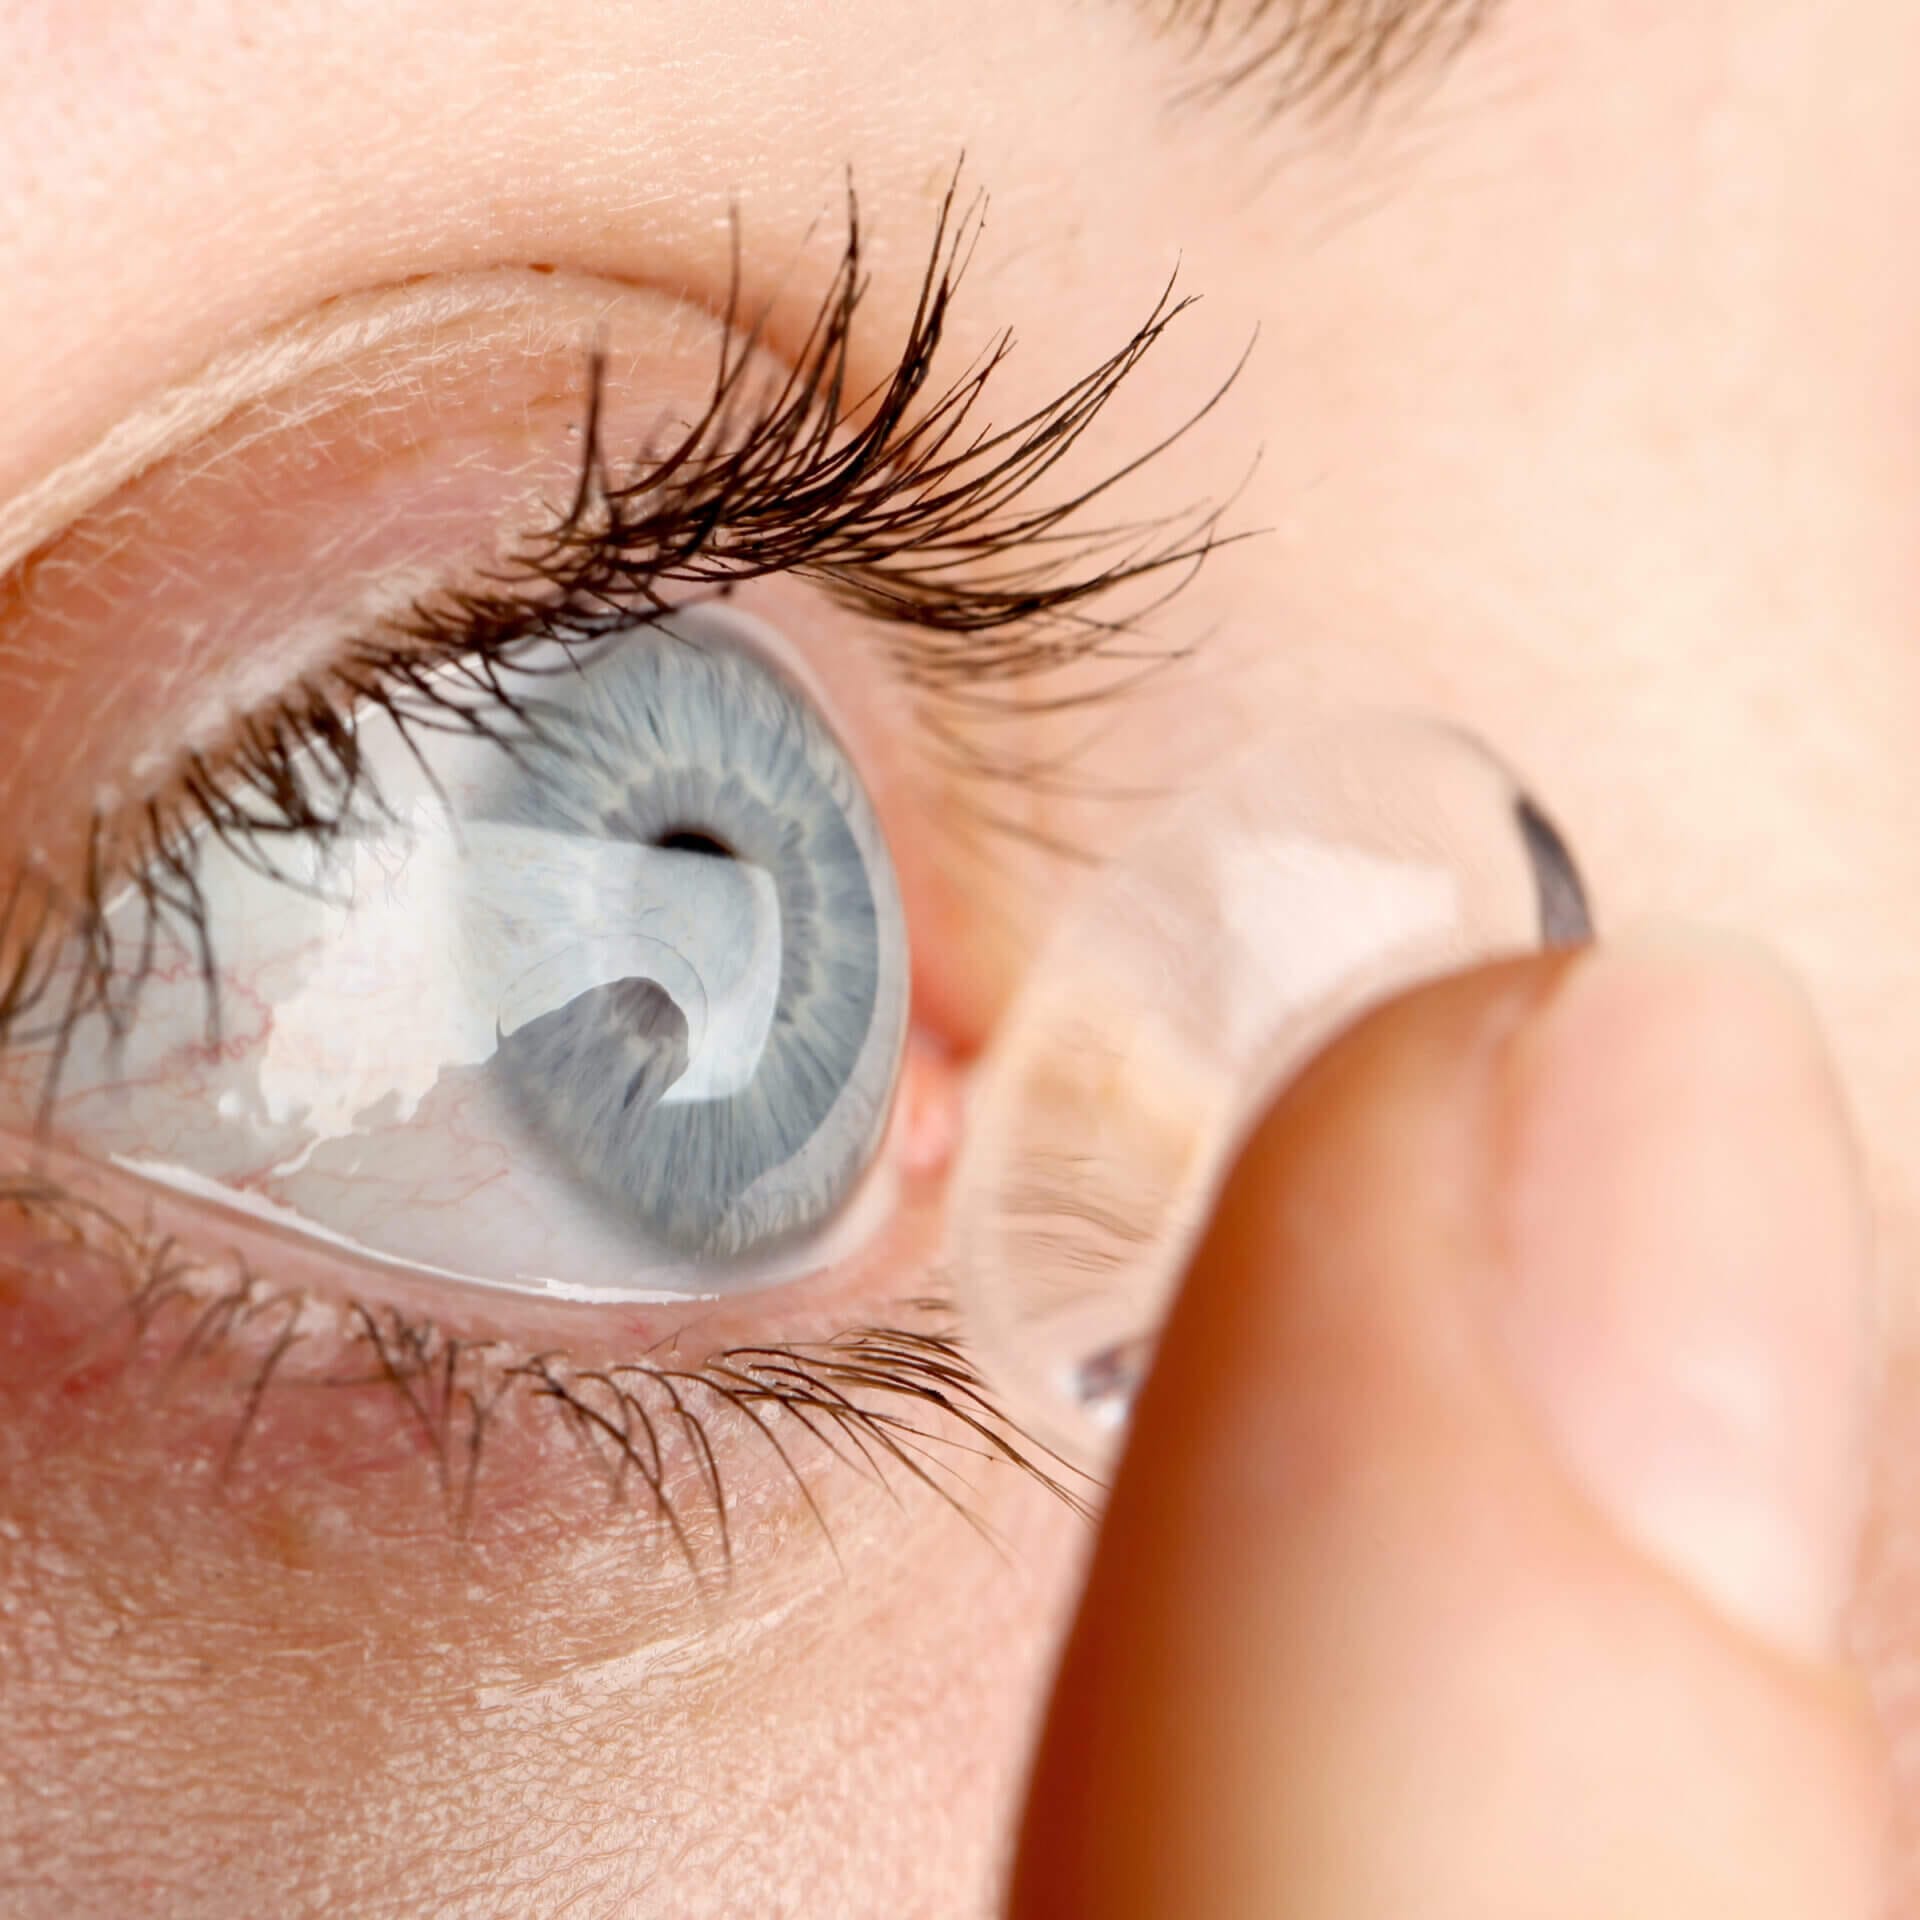
Look upward, lifting your chin slightly.
With your non-dominant hand, hold your upper eyelid open.
Use your dominant hand to pull down your lower eyelid.
Gently pinch the lens with the pads of your index finger and thumb, trying not to squeeze too hard.
Once you have a firm but gentle grip, look up and slide the lens down to the white part of your eye.
Gently squeeze the lens between your fingers and remove it from your eye.
If the lens is stuck, apply a few drops of rewetting solution to moisten it and try again after a moment or two.
Hard contact lenses, including RGP (Rigid Gas Permeable) lenses, may require a different approach:
Blink to see if the lens will move to the white part of your eye, where it can be easier to remove.
Use your eyelids to gently "squeeze" the lens out by looking up, sliding the lower lid under the lens, and then closing your eye.
If this doesn't work, a small plunger that comes with RGP lenses can be used to remove them. Make sure the plunger is clean, and lightly touch it to the center of the lens to create suction before lifting it away.
Step 5: Lens Care After Removal
After removal, immediately place your lenses in your already-prepared lens case with fresh solution. This not only cleans the lenses but also maintains their shape and quality. Learn more about contact lens care.
For soft lenses:
Place the lens in the palm of your hand.
Apply a few drops of the recommended lens cleaning solution.
Gently rub the lens in a circular motion with your index finger.
Rinse the lens again with solution before storing it in your lens case.
For hard lenses:
Rinse with the cleaning solution recommended by your optometrist.
Place in the case filled with the appropriate conditioning solution.
Remember to clean your lens case regularly and allow it to air dry during the day to prevent the growth of microorganisms.
Each step in this process plays an important role in ensuring that your contact lens experience is safe, hygienic, and comfortable. Regular practice and adherence to these steps can help prevent potential eye health issues and make contact lens wear a smooth experience.
Visit Your Optometrist for Professional Contact Lens Care
Despite following all the right steps, there might be times when you simply cannot remove your contact lens or you experience discomfort that concerns you. In such instances, it’s important to seek professional assistance. Persistent difficulty in lens removal could be a sign of an underlying issue, such as lens suction, dry eye, or inflammation that only a qualified eye care professional can diagnose and treat.
If you feel pain, notice redness, or experience blurred vision that doesn’t improve after the removal of your lenses, it’s crucial to contact your optometrist immediately. Trying to forcibly remove a lens that is not coming out can cause more harm and increase the risk of scratching your cornea or introducing an infection.
Eye Care You Can Trust - Choose an Amplify EyeCare Optometrist Today
Amplify EyeCare is a team of a passionate and experienced optometrists practicing eye care at the cutting edge of technology and vision science. We are growing with new locations coming across the US.